Acoustic Testing: A Guide to Sound Transfer Tests
What you need to know about a sound test….
If you’re a property developer and creating new units i.e. a house conversion into numerous flats, or a new row of terraced housing, you will need to comply with Part E of the Building Regulations Approved Documents (Resistance to the passage of sound). These deal with soundproofing properties of new builds, refurbishments and change-of-use to residential property.
When do you need a sound test?
All new dwellings will require a sound test, unless your hew-build dwellings are built using ‘Robust Details’ – which we will explain later. The test can only be carried out pre-completion at the end of your project. If you haven’t made sure your construction details are correct throughout the project, you could be left paying a large bill if you fail your acoustic tests and have to retrospectively install acoustic measures. This blog article will help you understand what an acoustic test is, what to look out for, and how to pass your acoustic test first time!
What do they test?
The sound engineer will test all separating floors and walls between dwellings.
The Aim?
Protect the enjoyment of occupiers between different flats and houses and reduce the sound transfer to an acceptable dB rating.
What does an acoustic test look like?
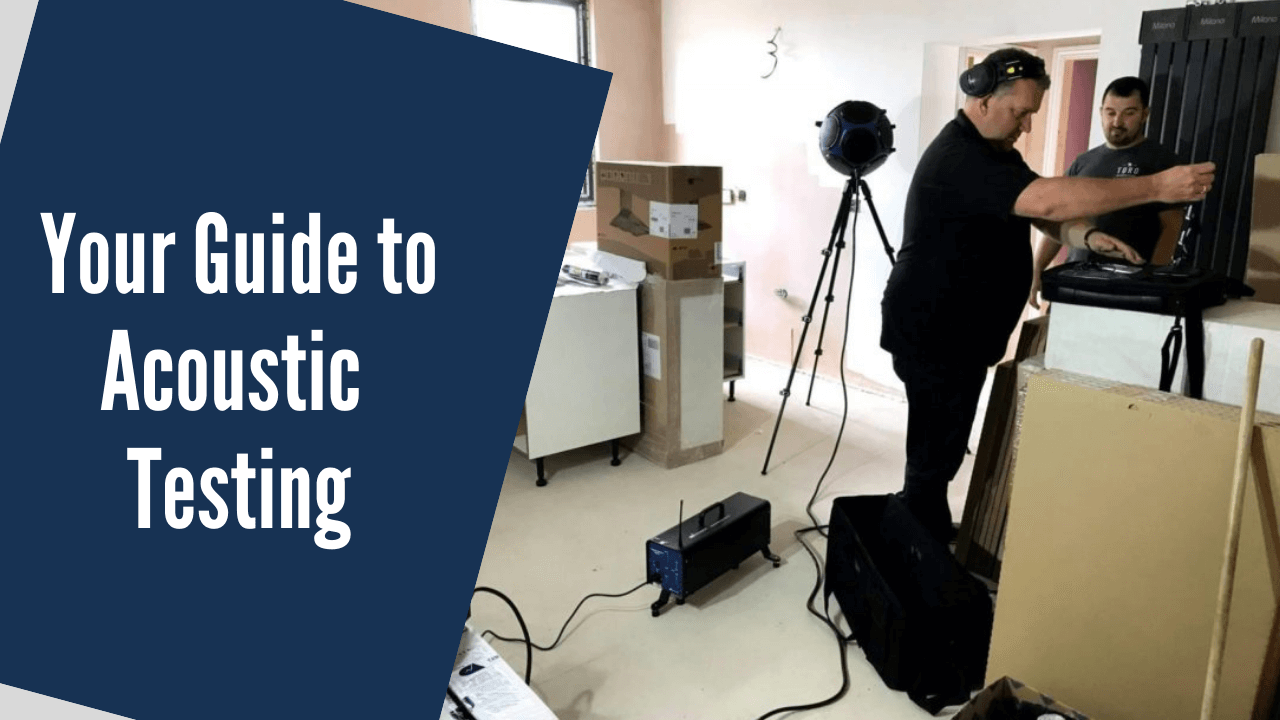
There are two types of tests carried out. The first test deals with Airborne noise – for example, a persons voice passing through an apartment wall. The second test deals with Impact noise – for example, children jumping up and down on a separating floor between apartments.
The two tests involve a tapping machine and a loudspeaker to create the noise source, whilst noise readings are measured in decibels (dB) using sound meters in the adjacent room.
How can I reduce the sound transfer between my neighbours?

You deal with airborne noise and impact noise differently.
To reduce airborne noise transfer you could:
1. Install acoustic insulation i.e. dense mineral wool quilt between floors/walls
2. Install a dense ‘Soundbloc’ plasterboard
3. Use dense blockwork
To reduce impact noise:
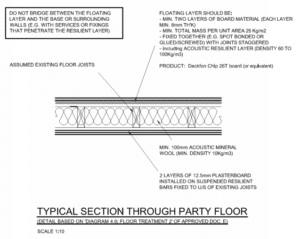
1. Limit the contact between floor structure and plasterboard by using acoustic hangers
2. Install a sound deadening (rubber) underlay between floor boards floor structure
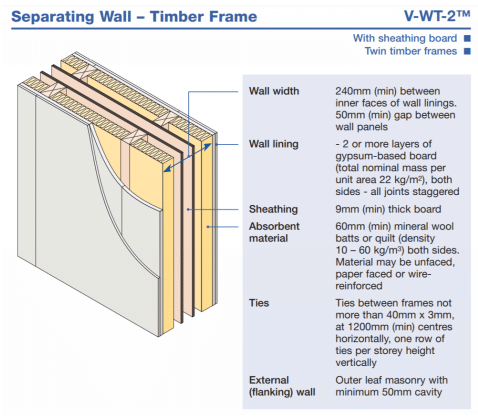
3. Create independent double-skin studwalls between dwellings
What about flanking noise?
You can reduce noise transfer between dwellings greatly by installing the items discussed, but this alone will not achieve the required sound reduction ratings. You will need to think carefully about “flanking noise.” These weak spots will generally be where floors and walls intersect. Mastic, and foam sealant can be used to reduce flanking noise transfer. The Robust Details also provide a useful reference for your architect when detailing these junctions correctly.
What are Robust Details?
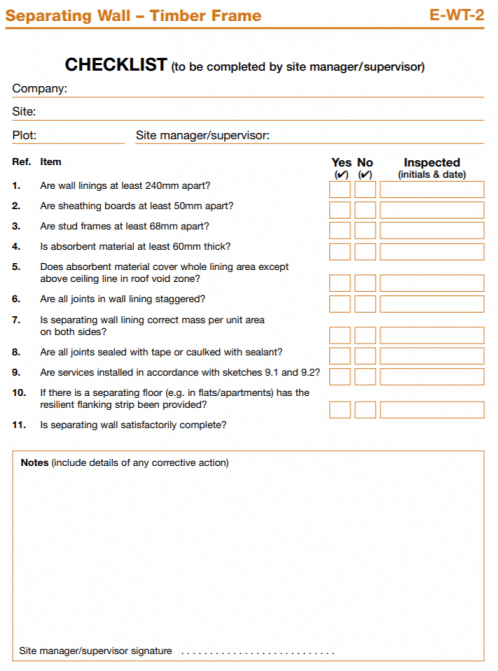
These were formed in 2003 in response to the housebuilding industry’s request for alternative to pre-completion sound testing. A Robust Detail is a separating wall or floor construction which has been assessed and approved by Robust Details Limited. There is a Robust Detail handbook describing how each floor and wall build-up should be installed. These details have been pre-qualified and tested to be capable of consistently exceeding the relevant regulatory performance standards. The site operatives and their managers will need to sign the Robust Details checklist to show they have installed the detail correctly. If Robust Details are used there is no need to carry out a pre-completion sound test.
